
If you’ve ever wanted to make fresh mozzarella at home, this recipe gives you a soft, creamy cheese with that classic stretchy texture and delicate milky flavor. It’s made with just whole milk, vinegar, and salt, creating a simple homemade mozzarella that feels surprisingly rewarding and easier than expected.
Why you’ll love this recipe
Fresh homemade mozzarella has a completely different texture and flavor compared to store-bought versions. It’s soft, delicate, slightly creamy, and develops that beautiful stretchy consistency when properly heated and folded.
This recipe uses simple ingredients and a very approachable process, making it ideal even for beginners. Once you understand the stretching stage, you can create fresh mozzarella for pizzas, caprese salads, sandwiches, or warm homemade cheese plates anytime.
Homemade Mozzarella
Ingredients
Method
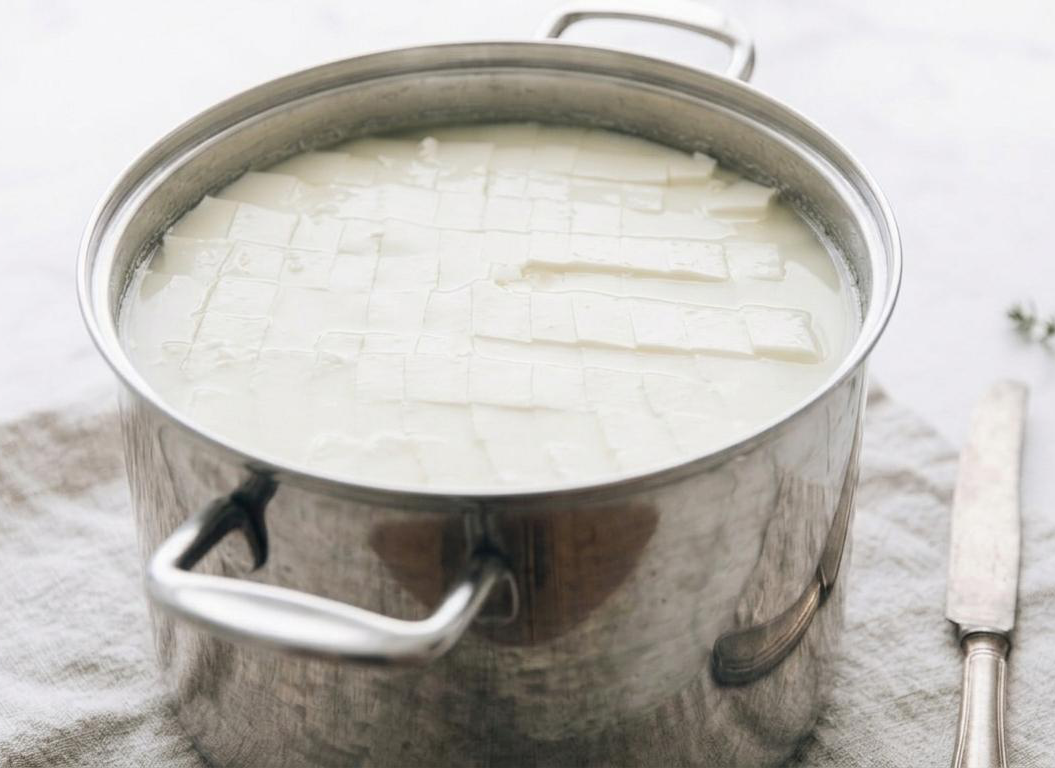
- Pour the milk into a large heavy-bottom pot.
- Heat gently over medium-low heat until the milk reaches 120°F / 49°C, stirring slowly to prevent scorching.
- Remove from the heat and add the vinegar.
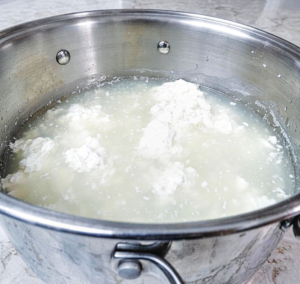
- Stir gently for about 30 seconds until curds begin separating from the whey.
- Cover and let rest for 15 minutes.
- Scoop the curds into a bowl or strainer using a slotted spoon.
- Gently squeeze or drain excess liquid.
- Mix in the salt if using.
- Heat a bowl of water to 170–180°F (77–82°C).
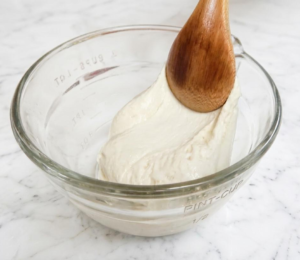
- Submerge the curds in the hot water for 30–60 seconds until soft and flexible.
- Stretch and fold the cheese carefully.
- Return the curds to the hot water as needed and repeat stretching until smooth, glossy, and elastic.
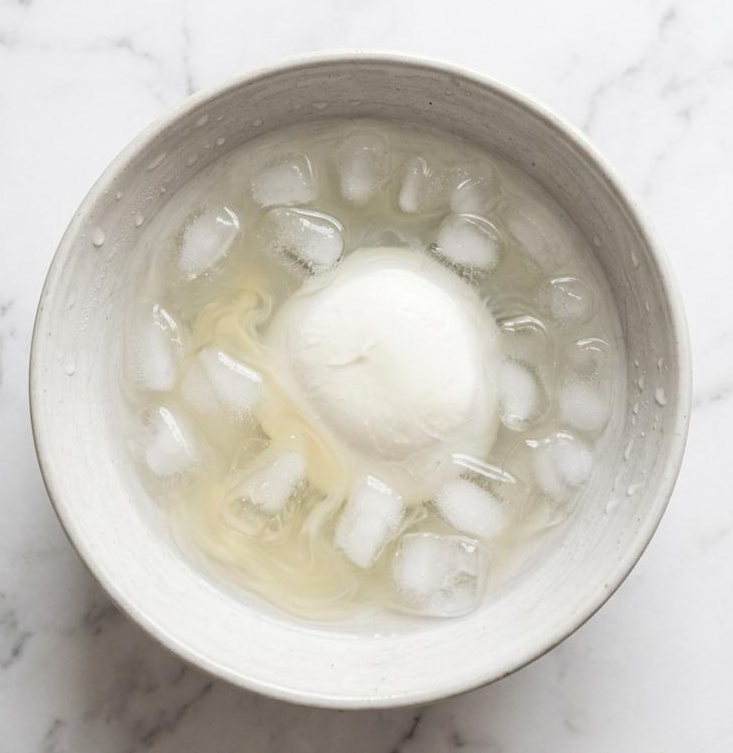
- Shape the mozzarella into a ball.
- Place in an ice bath for 10–15 minutes to help it set.
- Serve fresh or refrigerate until ready to use.
Notes
 Do not use ultra-pasteurized milk, or the curds may not form properly.
If the mozzarella tears instead of stretching, the curds usually need more heat.
The leftover whey can be saved for bread, pizza dough, soups, or smoothies.
Fresh mozzarella is best enjoyed the same day for the softest texture.
Do not use ultra-pasteurized milk, or the curds may not form properly.
If the mozzarella tears instead of stretching, the curds usually need more heat.
The leftover whey can be saved for bread, pizza dough, soups, or smoothies.
Fresh mozzarella is best enjoyed the same day for the softest texture.
Tips for this recipe
- Use full-fat whole milk for the best texture and flavor.
- Avoid overheating the milk early in the process.
- Heat is critical during stretching — cold curds will tear instead of stretch.
- Stretch gently instead of aggressively pulling the cheese.
- An ice bath helps the mozzarella hold its shape better.
- Fresh mozzarella tastes best within 24 hours.
Serving Ideas for Homemade Mozzarella
- Serve with tomatoes, basil, olive oil, and flaky salt for Caprese salad.
- Use on homemade pizza for a creamy melt.
- Pair with toasted bread and balsamic glaze.
- Add to sandwiches or paninis.
- Serve warm with roasted vegetables and fresh herbs.
Recipe Questions
Can I use ultra-pasteurized milk?
No. Ultra-pasteurized milk usually does not form proper curds and will affect the final texture.
Why is my mozzarella not stretching?
The curds are usually too cool. Reheat them in hot water until soft and flexible before stretching again.
How should I store homemade mozzarella?
Store in an airtight container in the refrigerator for up to 2–3 days.
Can I freeze mozzarella?
Yes, but freezing may slightly change the texture. Fresh mozzarella is best enjoyed fresh.
What can I do with leftover whey?
Whey can be used in bread dough, soups, smoothies, or baking recipes.
Did You Make This Recipe?
If you made this homemade butter, I’d love to hear how it turned out. Leave a rating, share your photo, and tag Sofi Test Kitchen so I can see your version.
Leave a Reply